Welcome to Mondince Bike - A well-known factory specialized in produce carbon bike frame and other parts since 2007.
Tools Needed for Chain Tension Adjustment
Adjusting the tension of your bike chain is an essential maintenance skill that every cyclist should master. Whether you're dealing with a loose chain on your bicycle or fine-tuning the tension on a fixed gear, knowing how to adjust your bike chain can save you time and money. In this guide, we'll walk you through the tools needed for chain tension adjustment and provide step-by-step instructions to ensure your bicycle is running smoothly.
Before diving into the tools and steps, it's crucial to understand the importance of proper chain tension. A loose bike chain can lead to inefficient pedaling, increased wear on your drivetrain, and even the risk of the chain slipping off the gears. On the other hand, a chain that's too tight can cause excessive strain on the bike's components, leading to premature wear and potential damage.
Signs of a Loose Chain
- The chain sags noticeably
- Skipping gears when pedaling
- Unusual noise from the drivetrain
- The chain slips off the gears
Signs of a Tight Chain
- Difficulty pedaling
- Excessive noise from the drivetrain
- Resistance when spinning the pedals backward
Essential Tools for Chain Tension Adjustment
To adjust the chain tension on your bicycle, you'll need a few basic tools. These tools are readily available at most bike shops or online.
Wrench Set
A wrench set is crucial for loosening and tightening the bolts on your bike's rear wheel and derailleur. Make sure you have the correct size for your bicycle's components.
Bike Stand
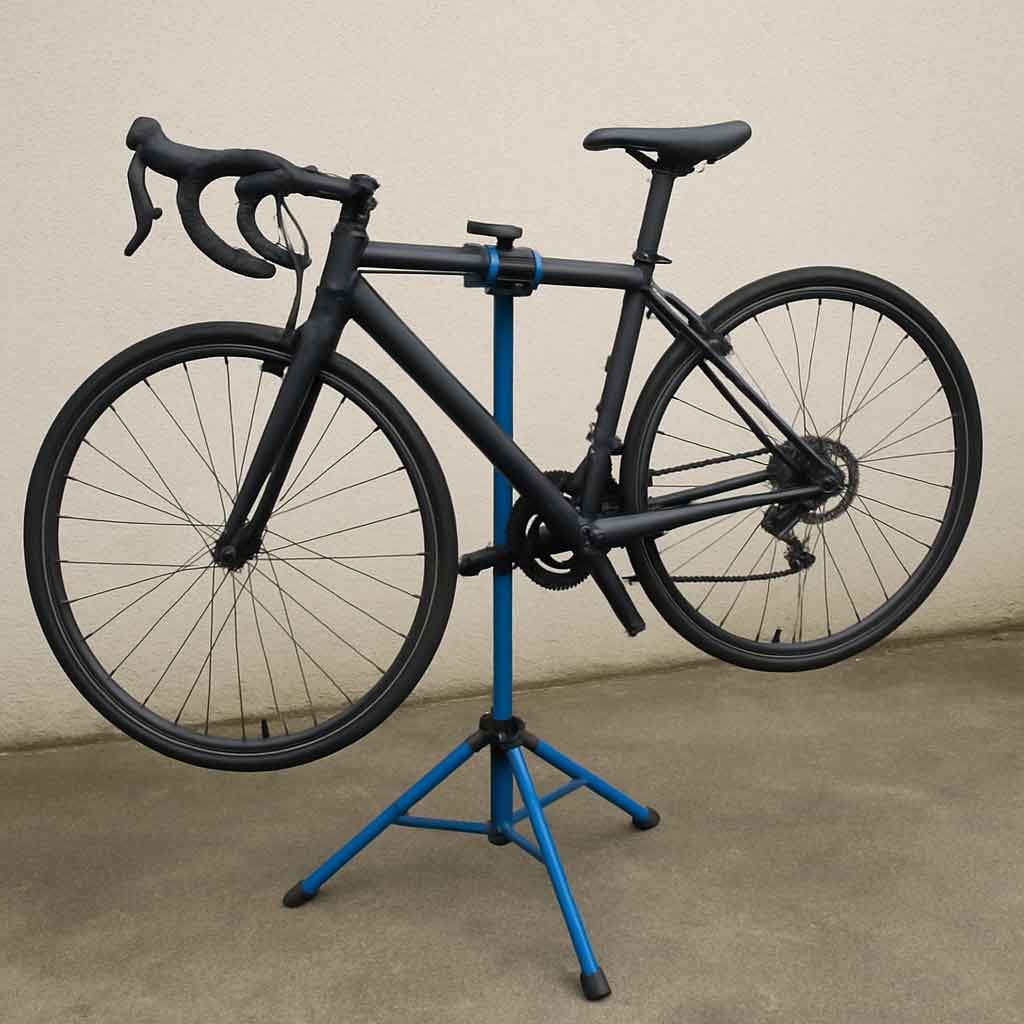
A bike stand holds your bicycle in place, making it easier to work on. While not absolutely necessary, it significantly simplifies the process and keeps your bike stable.
Chain Tool
A chain tool helps with removing and adding links if necessary. This tool is particularly useful if you need to adjust the chain length to achieve the proper tension.
Allen Wrenches
Allen wrenches, or hex keys, are essential for adjusting bolts on various parts of your bike. Ensure you have a set that matches the sizes used on your bicycle.
Screwdriver
A screwdriver might be required for adjusting the derailleur or other components. It's always a good idea to have one handy.
Step-by-Step Guide to Adjusting Chain Tension
Now that you have your tools ready, let's go through the process of adjusting your bike chain tension.
Step 1: Position Your Bike
Start by placing your bike on a stable surface or a bike stand. Ensure it's secure and won't tip over while you work.
Step 2: Identify the Problem
Determine whether your chain is too loose or too tight. Use the signs mentioned earlier to assess the situation.
Step 3: Loosen the Rear Wheel
Using your wrench set, slightly loosen the nuts or quick-release lever holding the rear wheel in place. This step allows you to move the wheel forward or backward to adjust the chain tension.
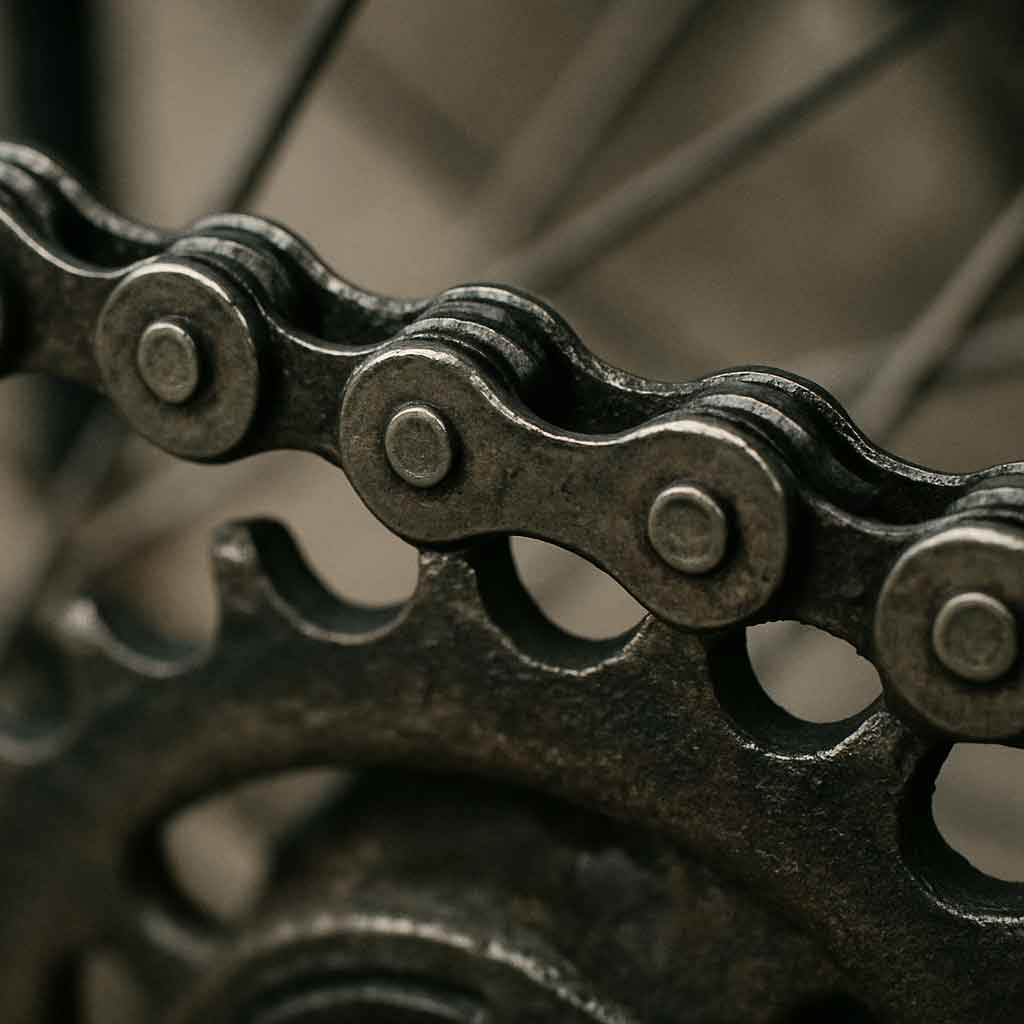
Step 4: Adjust the Chain Tension
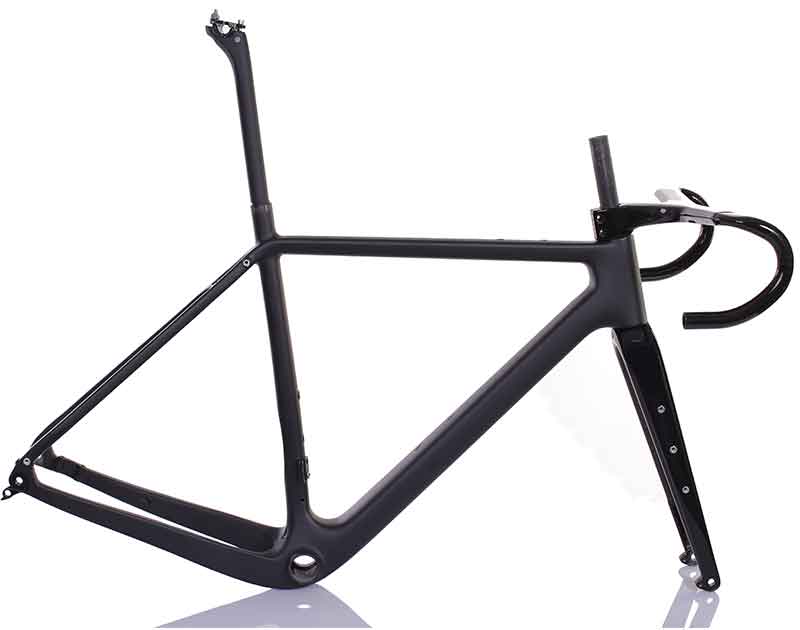
by Jeremias Radny (https://unsplash.com/@gutmensch1)
For a loose chain, move the rear wheel backward. For a tight chain, move it forward. Make small adjustments and check the tension by spinning the pedals. The chain should have a slight amount of slack but should not sag.
Step 5: Tighten the Rear Wheel
Once you're satisfied with the chain tension, tighten the nuts or quick-release lever to secure the rear wheel in place. Double-check that the wheel is centered and aligned with the frame.
Step 6: Check the Chain Alignment
Ensure the chain runs smoothly along the chainrings and cassette or sprockets. Adjust the derailleur if necessary to achieve proper alignment.
Step 7: Test Ride Your Bike
Take your bike for a short ride to test the adjustments. Listen for any unusual noises and make sure the chain doesn't skip or slip.
Special Considerations for Fixed Gear Bikes
Fixed gear bikes, or "fixies," require particular attention when adjusting chain tension. These bikes don't have a derailleur, so achieving the right tension is even more critical.
Steps for Fixies
- Loosen the Rear Axle Nuts: Use your wrench to loosen the nuts on both sides of the rear wheel.
- Adjust the Wheel Position: Move the wheel backward to increase tension or forward to decrease it.
- Align the Wheel: Ensure the wheel is centered between the frame stays.
- Tighten the Axle Nuts: Once the tension is correct, tighten the nuts securely.
Preventive Maintenance Tips
Regular maintenance can prevent chain tension issues and extend the life of your bike's drivetrain.
- Clean Your Chain Regularly: A clean chain runs smoothly and lasts longer.
- Lubricate the Chain: Use a quality bike chain lubricant to reduce friction and wear.
- Inspect the Chain for Wear: Check for stretched or damaged links and replace the chain if necessary.
Conclusion
Adjusting your bike chain tension is a straightforward process that can significantly improve your cycling experience. By using the right tools and following these steps, you can ensure your bicycle runs efficiently and safely. Regular maintenance and attention to chain tension will keep your bike in top condition, allowing you to enjoy many miles of smooth riding. Whether you're dealing with a loose chain on a bicycle or fine-tuning a fixed gear bike chain tension, these guidelines will help you maintain optimal performance.
Remember, if you're ever unsure about making adjustments yourself, it's always a good idea to consult a professional bike mechanic. Happy cycling!