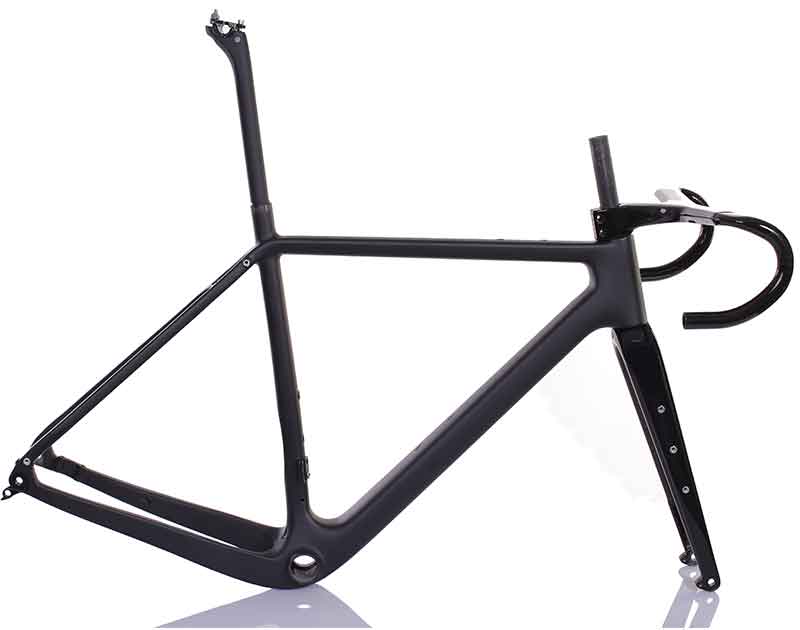
Welcome to Mondince Bike - A well-known factory specialized in produce carbon bike frame and other parts since 2007.
how to form carbon fiber parts
Carbon fiber is a popular material for making lightweight, yet strong parts. Whether you're a hobbyist interested in DIY projects or a professional looking to understand the crafting process, this guide will walk you through the essential steps in forming carbon fiber parts. We’ll cover everything from selecting materials to the final touches, ensuring you can create durable and high-quality carbon fiber components.
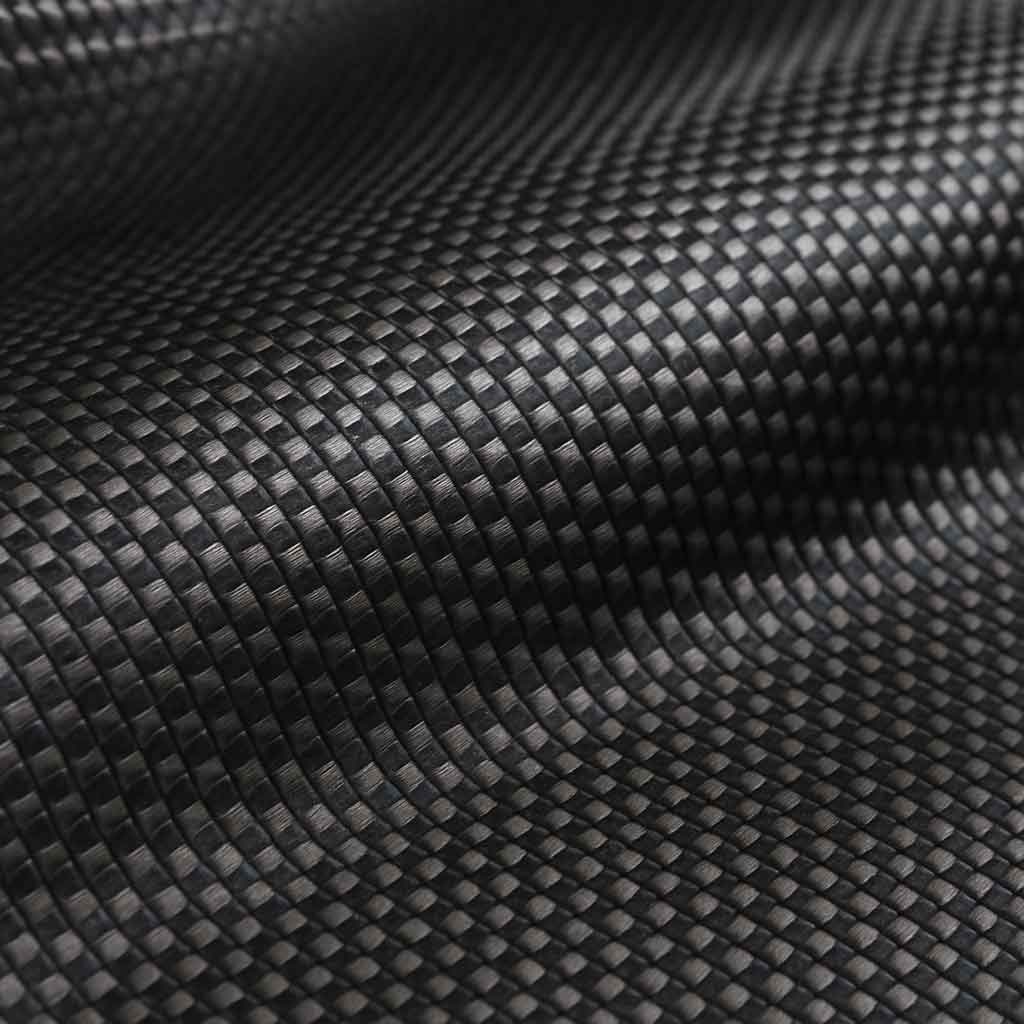
Before diving into the process, it's crucial to understand what carbon fiber is and why it's used. Carbon fiber is composed of thin, strong crystalline filaments of carbon. These filaments are woven into fabric, which can be layered and shaped to form various parts.
Benefits of Carbon Fiber
Carbon fiber is renowned for its strength-to-weight ratio, making it ideal for applications in automotive, aerospace, and sporting goods. It is also resistant to corrosion, has low thermal expansion, and provides excellent rigidity.
Gathering Materials and Tools
To begin forming carbon fiber parts, you'll need a set of materials and tools:
Essential Materials
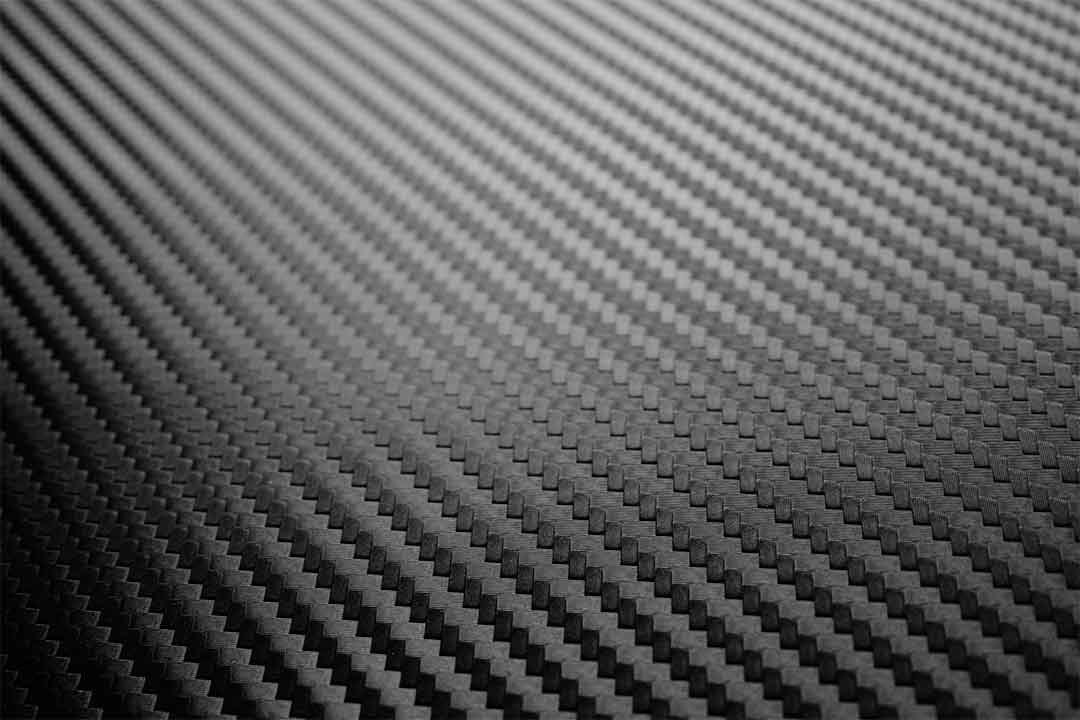
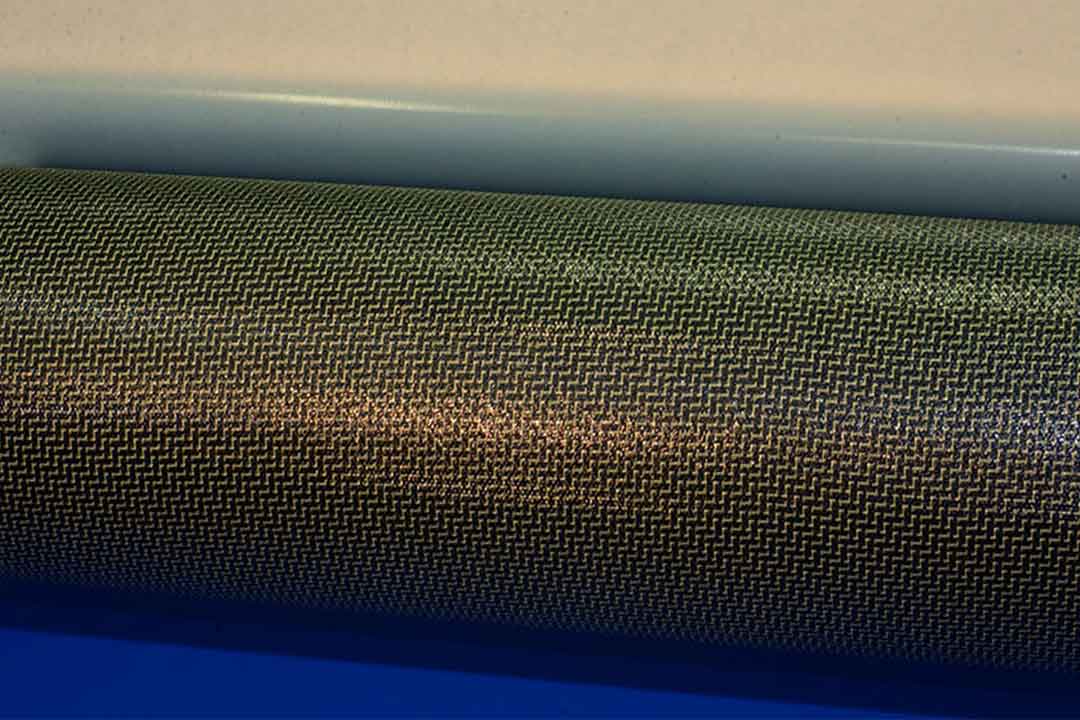
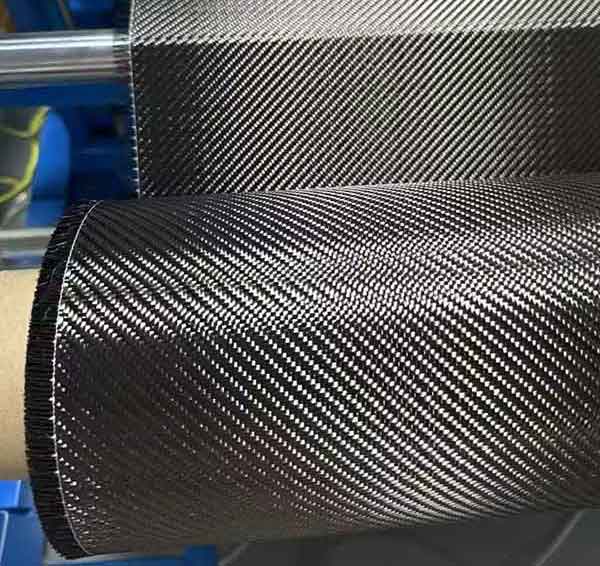
- Carbon Fiber Fabric: Choose the right weave pattern for your project. Common weaves include plain, twill, and harness satin.
- Epoxy Resin: This acts as a binding agent to hold the carbon fiber fabric together.
- Hardener: Used in combination with epoxy resin to initiate the curing process.
- Release Agent: Prevents the carbon fiber from sticking to the mold.
- Mold: Can be made from various materials like foam, wood, or metal, depending on your project's complexity.
Tools You'll Need
- Brushes: For applying resin.
- Rollers: To remove air bubbles and ensure even resin distribution.
- Mixing Containers: For combining resin and hardener.
- Protective Gear: Gloves, masks, and eye protection to handle chemicals safely.
- Sandpaper: For finishing touches.
Step-by-Step Guide to Forming Carbon Fiber Parts
Step 1: Prepare the Mold
The mold determines the shape of your carbon fiber part. It can be a simple flat sheet or a complex 3D shape. Ensure the mold is clean and apply a release agent to its surface. This will help you remove the part without damaging it.
Step 2: Cut the Carbon Fiber Fabric
Cut the carbon fiber fabric into the required shapes and sizes. Ensure that the fabric pieces overlap slightly to maintain strength and structural integrity.
Step 3: Mix the Resin and Hardener
In a mixing container, combine the epoxy resin and hardener according to the manufacturer's instructions. Mix thoroughly to ensure a proper chemical reaction. Remember to wear protective gear to avoid contact with the chemicals.
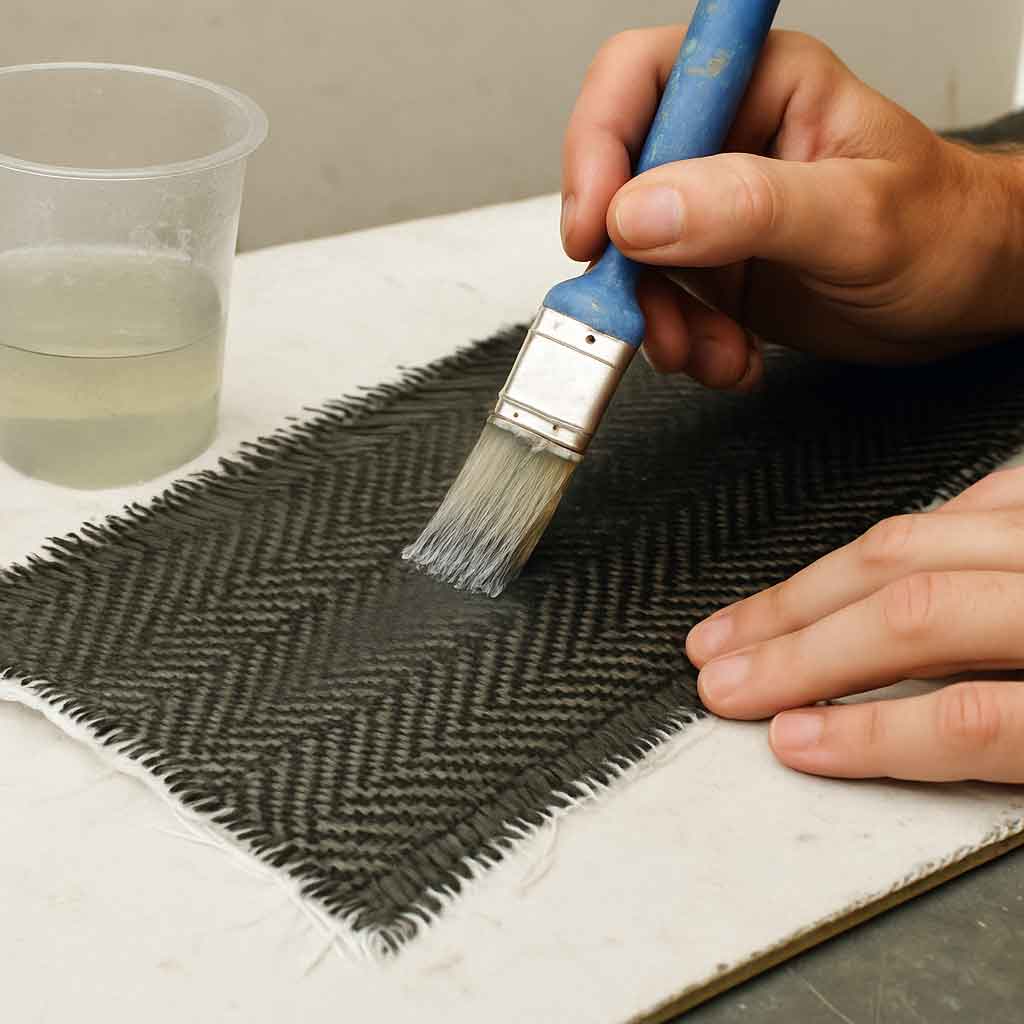
Step 4: Lay Up the Carbon Fiber
Apply a layer of resin to the mold using a brush, then place the first layer of carbon fiber fabric onto the mold. Use a roller to remove air bubbles and ensure the fabric adheres to the mold. Continue to alternate layers of resin and fabric until you achieve the desired thickness.
Step 5: Cure the Part
Once you've laid up all the layers, the part needs to cure. This can be done at room temperature or in an oven, depending on the resin system you are using. Curing times vary, so refer to the resin manufacturer's guidelines.

by The New York Public Library (https://unsplash.com/@nypl)
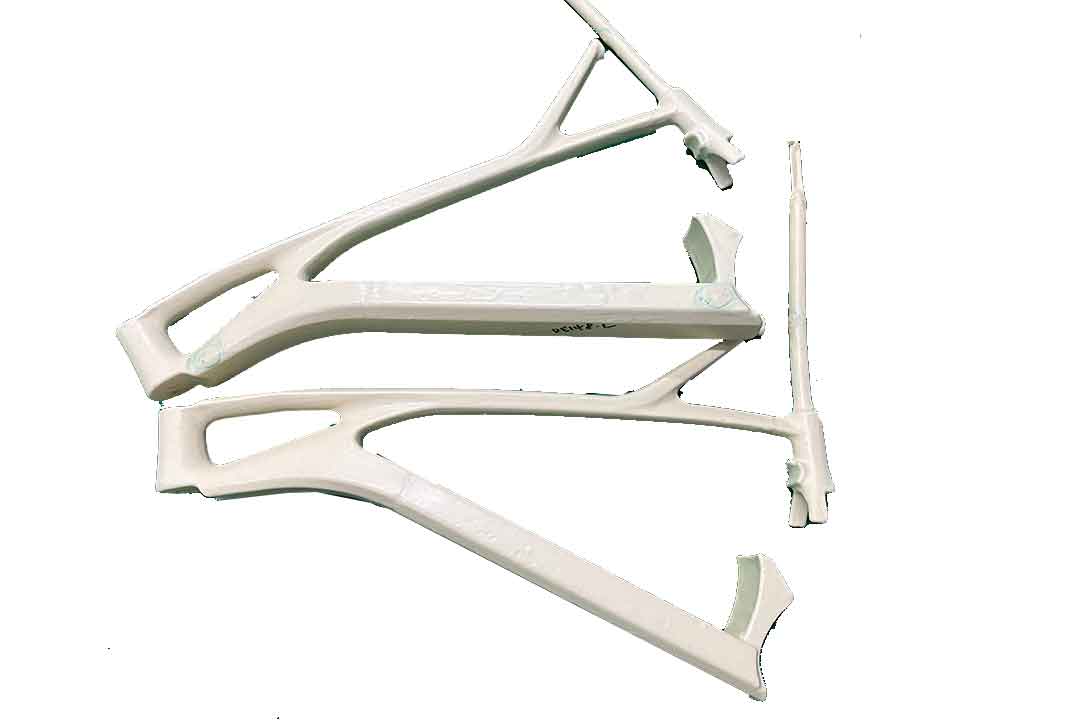
Step 6: Remove the Part from the Mold
After the curing process is complete, carefully remove the carbon fiber part from the mold. The release agent should make this step easier, preventing the part from sticking.
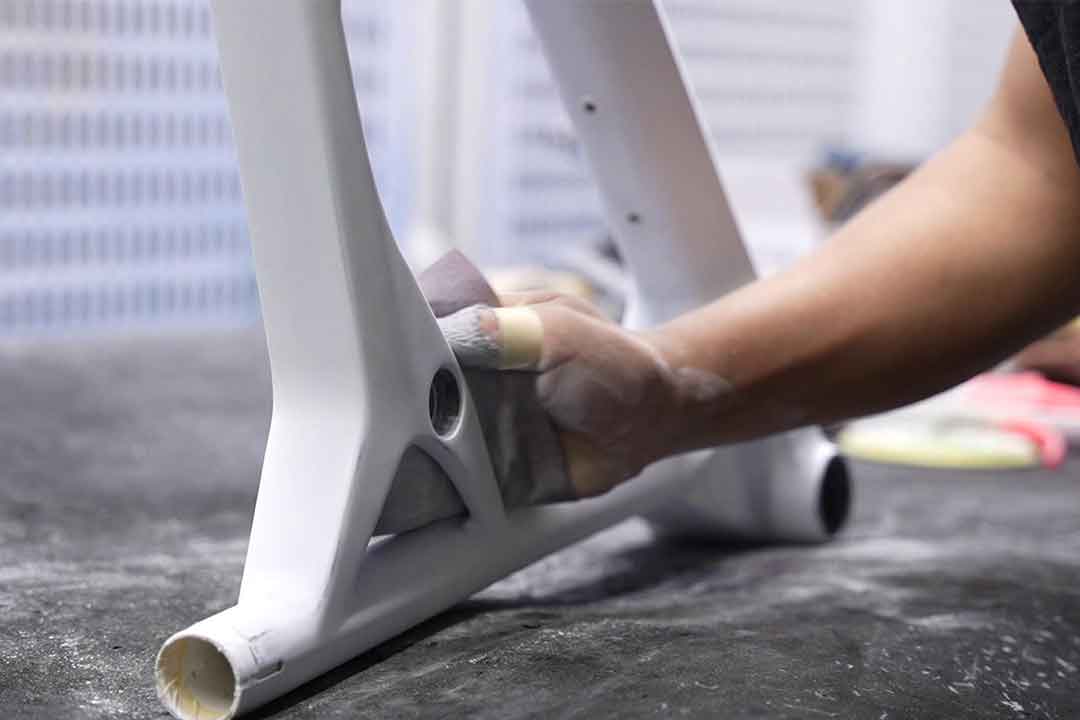
Step 7: Finishing Touches
Trim any excess material using a cutting tool or sandpaper. You can also polish the surface to achieve a smooth finish. For added protection, a clear coat can be applied to the surface.
Tips for Success
- Test Small: If you're new to forming carbon fiber parts, start with a small project to familiarize yourself with the process.
- Quality Materials: Invest in high-quality carbon fiber fabric and resin for the best results.
- Safety First: Always wear protective gear and work in a well-ventilated area to avoid inhaling fumes.
Common Challenges and Solutions
Air Bubbles
Air bubbles can weaken the structure. Use a roller diligently to eliminate them during the lay-up process.
Resin Drips
Excessive resin can lead to drips and an uneven surface. Use just enough resin to wet the fabric and avoid oversaturation.
Mold Sticking
If the part sticks to the mold, it may be due to insufficient release agent. Ensure an even application of the release agent to avoid this issue.
Conclusion
Forming carbon fiber parts requires precision and patience, but the results are worth the effort. With practice, you can create strong, lightweight components for a variety of applications. Whether you're a DIY enthusiast or a professional, understanding how to mold carbon fiber will open up new possibilities for your projects.
By following these steps and tips, you'll be well on your way to mastering the art of carbon fiber part making. Happy crafting!